TecraCoin [TCR] is now available on the decentralized exchange UniSwap. In response to your inquiries, we have prepared a short piece of material that explains the MetaMask wallet setup, the transfer of TCR to the Ethereum blockchain. This will help you to start trading on UniSwap!
1. Download and set up your MetaMask wallet
- Download MetaMask plugin for chrome browser from the link:
- https://chrome.google.com/webstore/detail/metamask/nkbihfbeogaeaoehlefnkodbefgpgknn
- Create a new MetaMask wallet
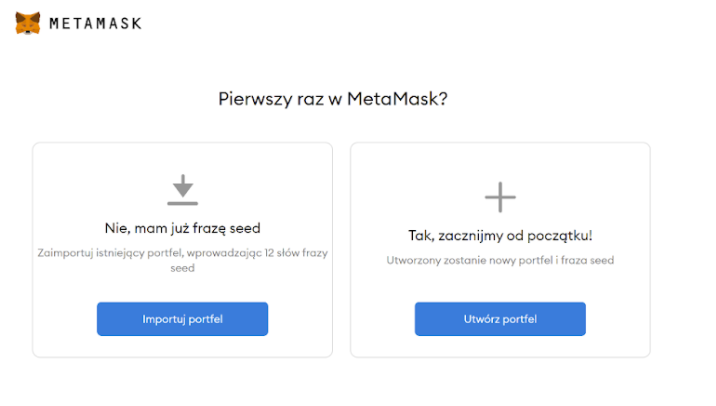
- Click on "Create wallet"
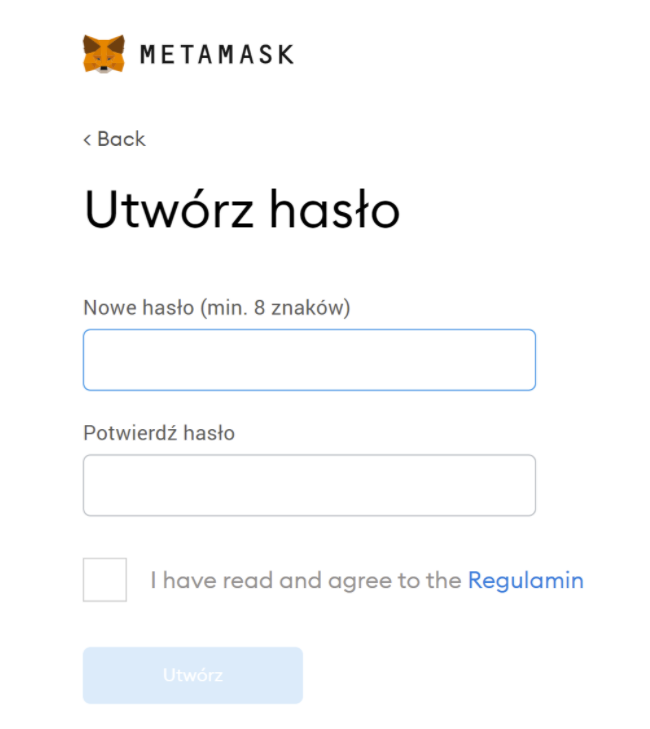
- Create the password
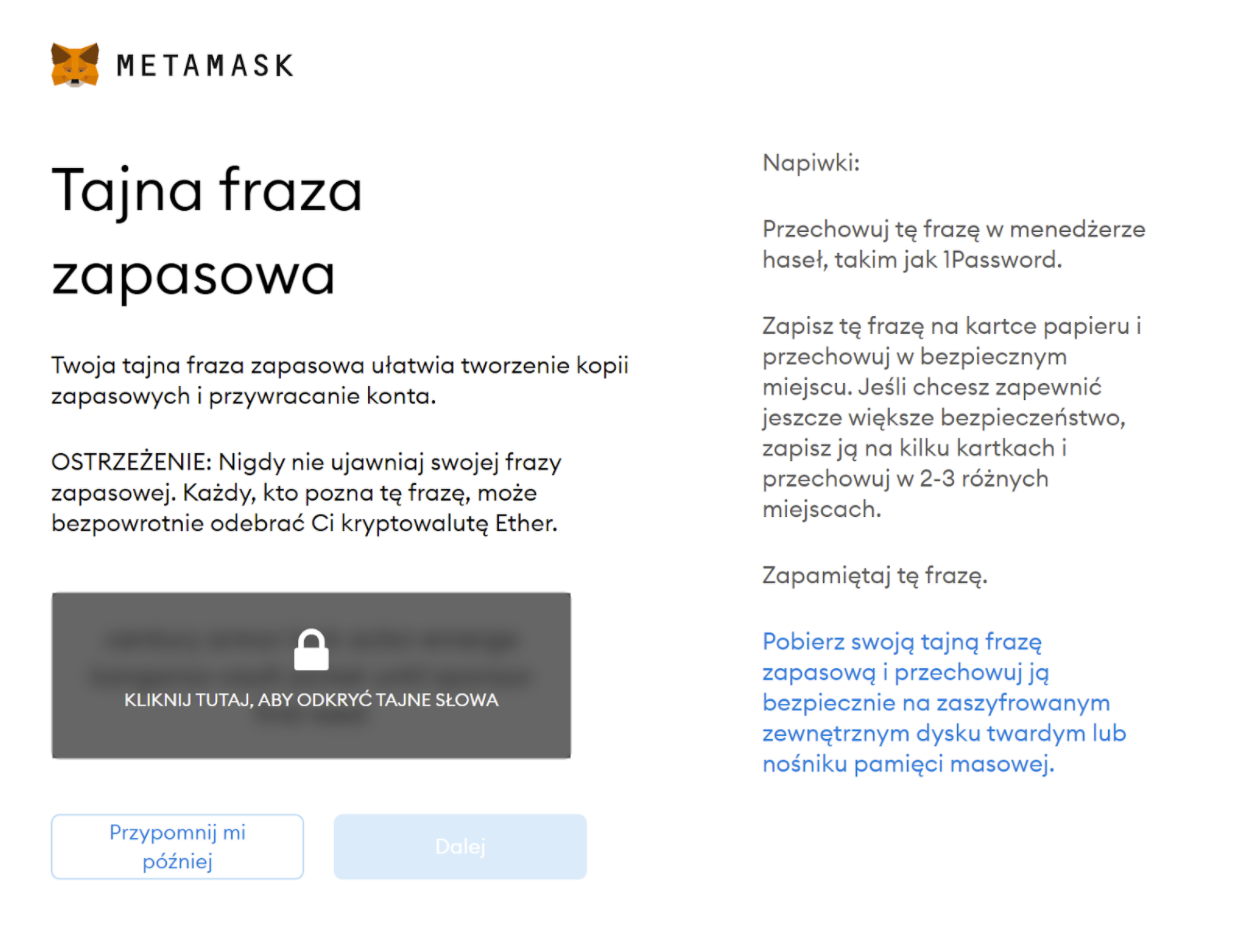
- Uncover and save the phrase to a safe place and move on
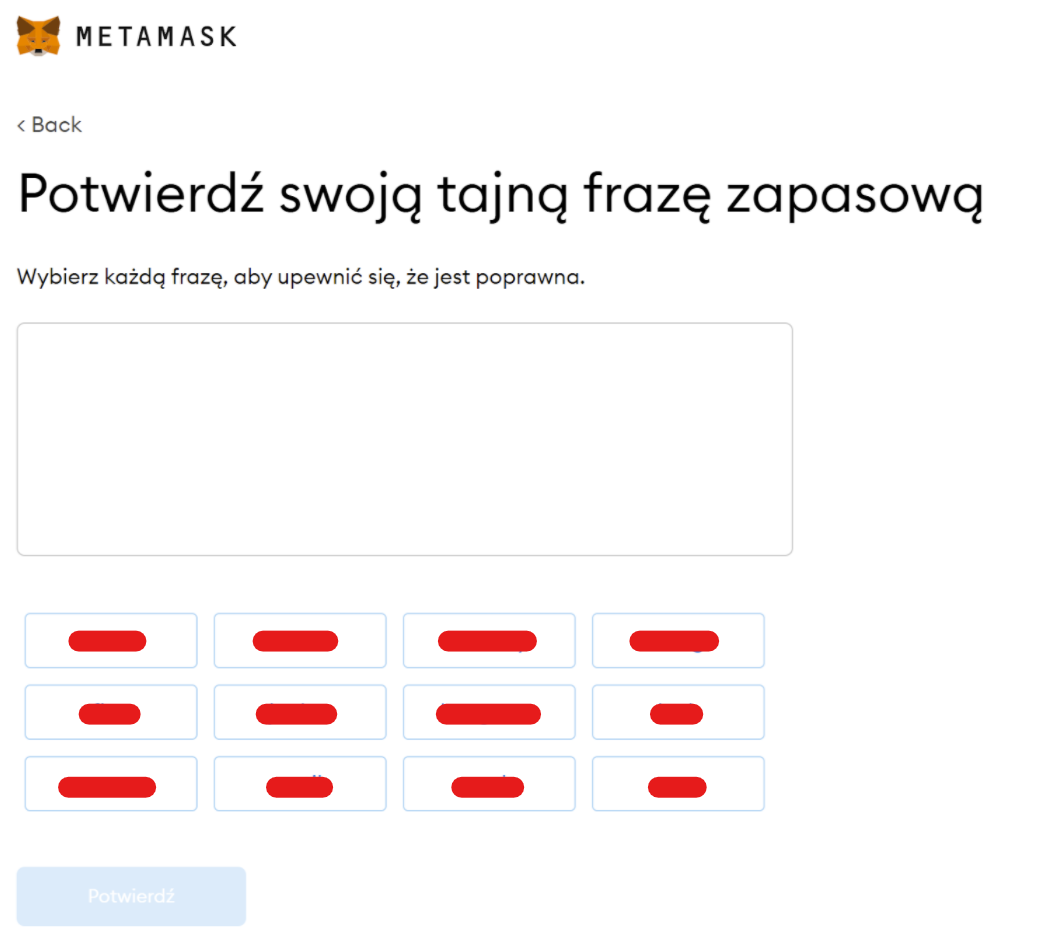
- Select, in sequence, the blocks with the phrases we saved in the previous step
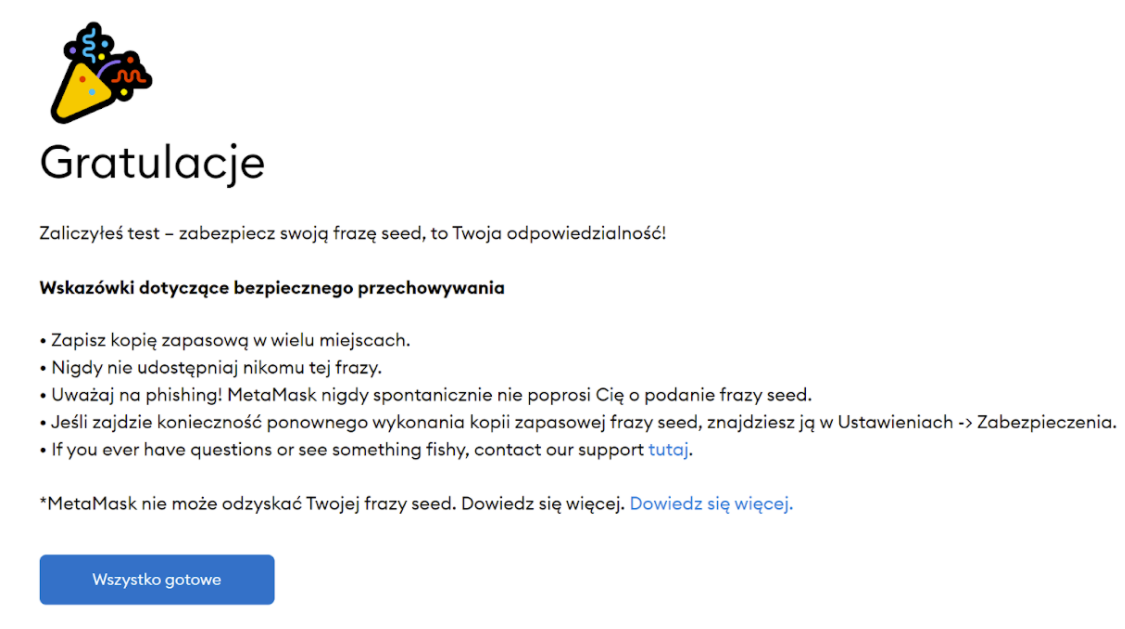
- Last step, the confirmation. MetaMask wallet created
2. Adding the TCR token to your MetaMask wallet
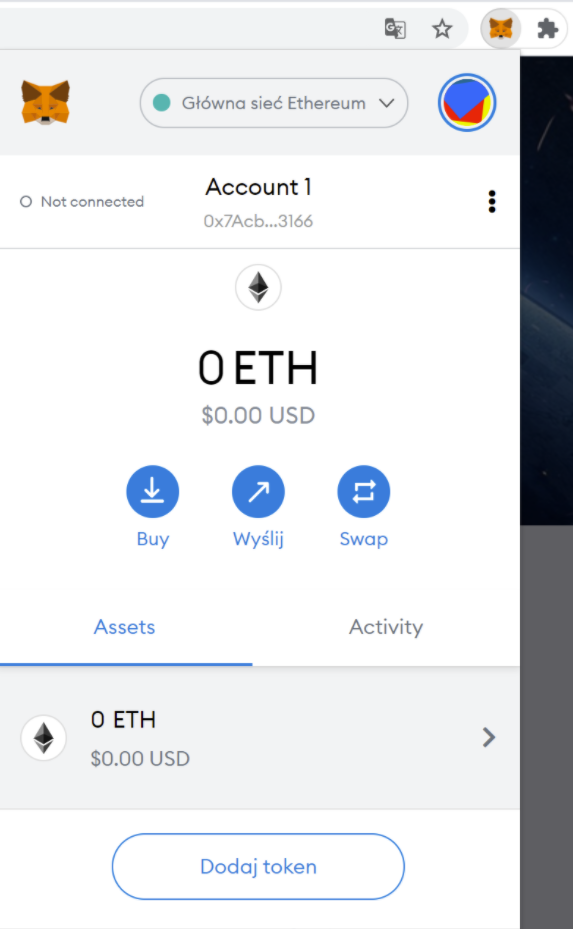
- Open the Metamask wallet plugin and click "add token".
- Choose the "Custom Token" tab
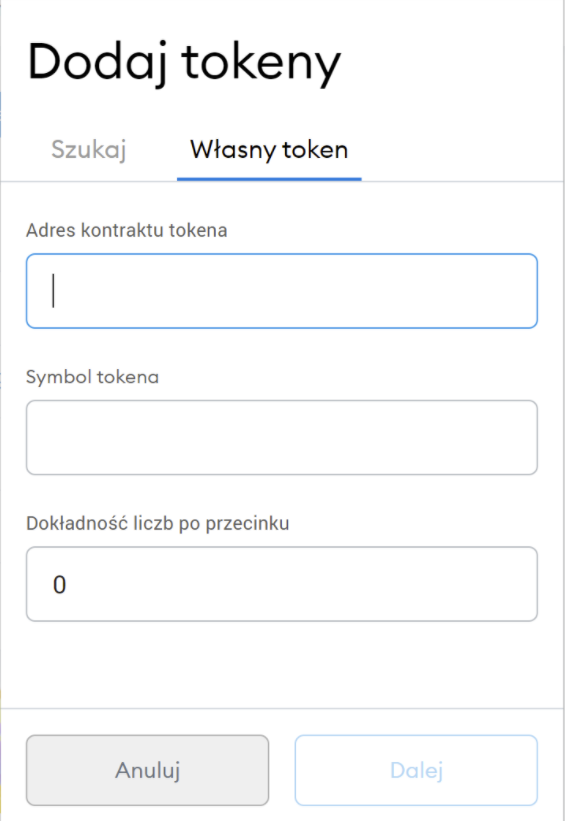
- In place of the "token address", insert 0xE38B72d6595FD3885d1D2F770aa23E94757F91a1 - this is the address of the TCR token on the Ethereum blockchain
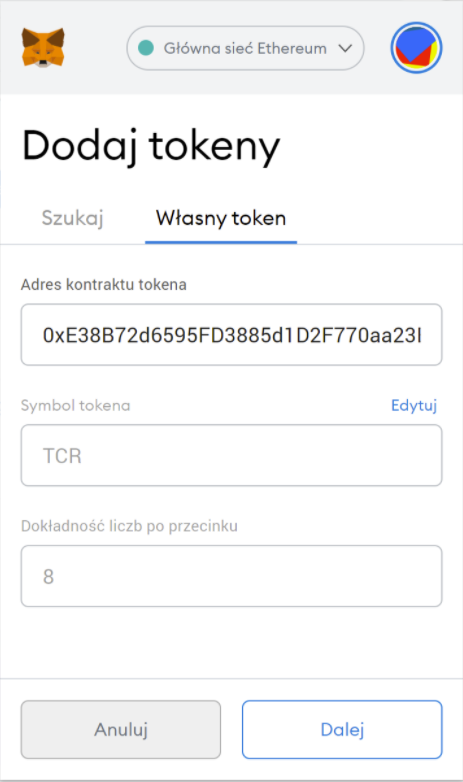
- Remember to select "Main Ethereum Network"
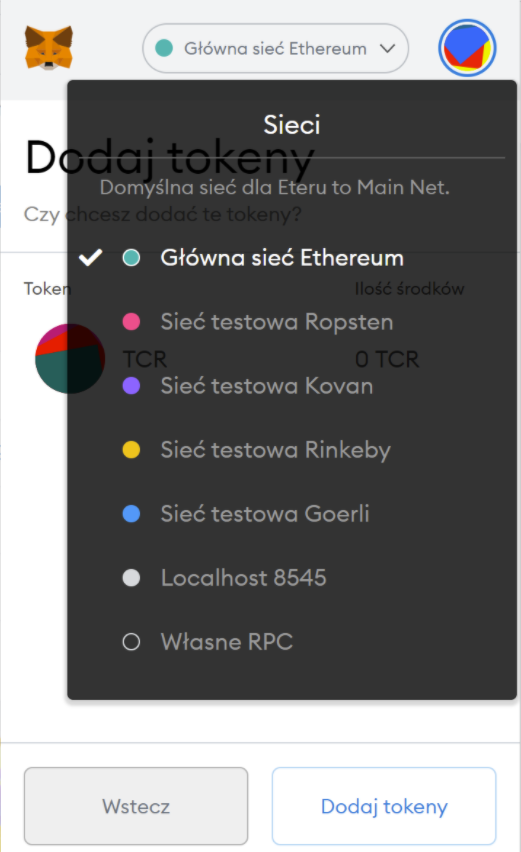
- After the token has been added correctly, the Metamask Wallet with the TCR token appears
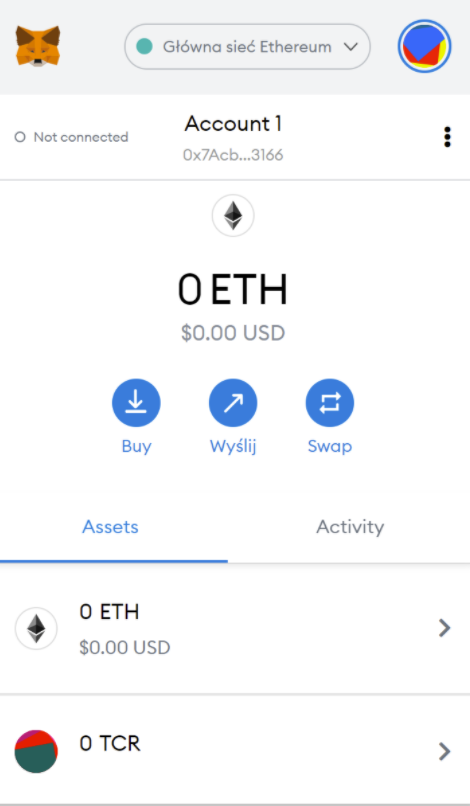
3. Transfer TCR na blockchain Ethereum
- Log in to the platform app.tecra.space
- Click on "WITHDRAW".

- Select "Withdraw from Ethereum blockchain"
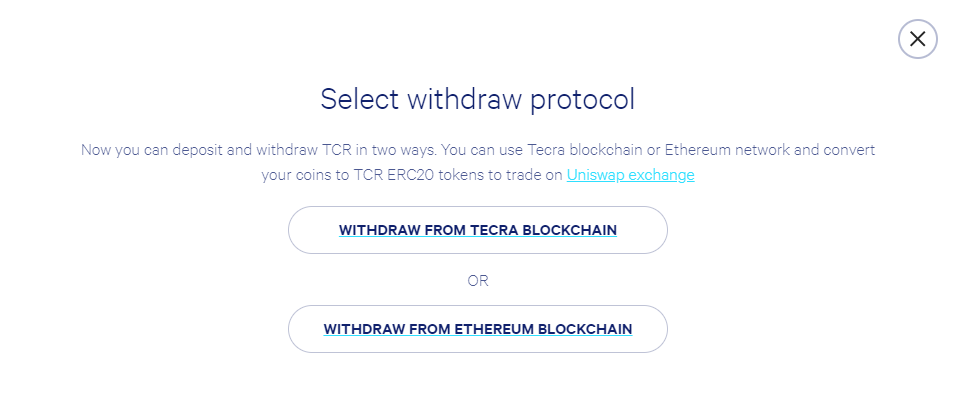
- Copy the address of the wallet, which can be found under the caption "Acoount1" in the MetaMask wallet
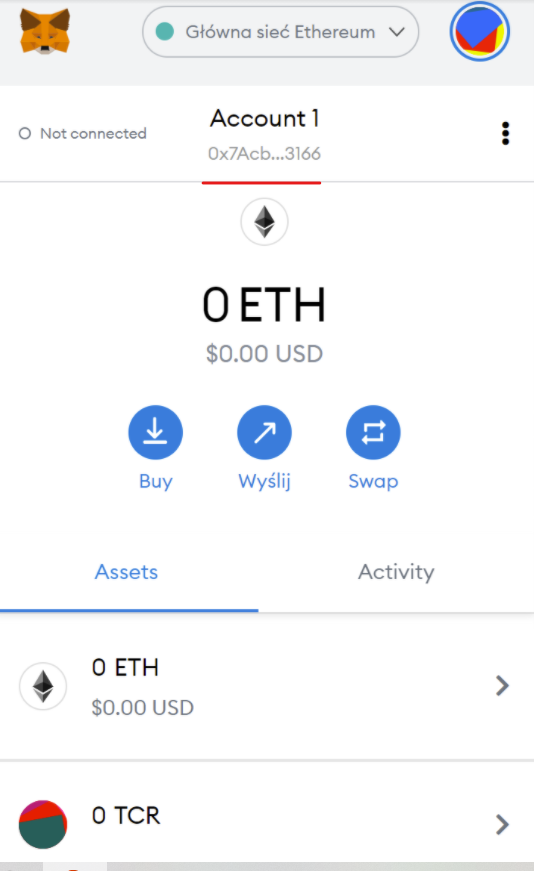
- Paste the Metamask wallet address and enter the number of TCR (the transaction fee is fixed at 30 TCR). In the field "withdraw to address" type the copied address from the previous step
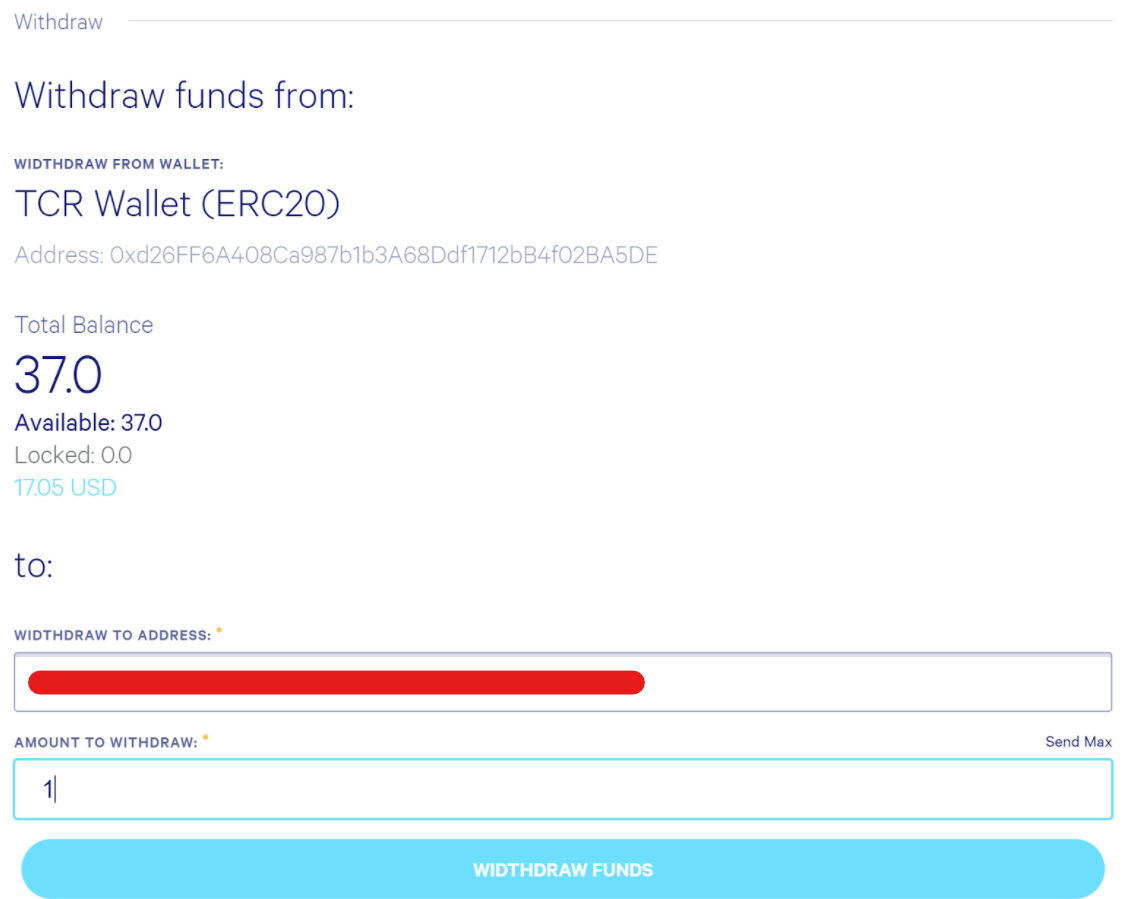
- We confirm the payment with 2FA or a confirmation email.
- Wait until the funds appear in your MetaMask wallet. (This will take several minutes)
4. Getting Started on the UNISWAP Exchange
- On the app.tecra.space platform select "withdraw" once again and click on the "Uniswap Exchange" link
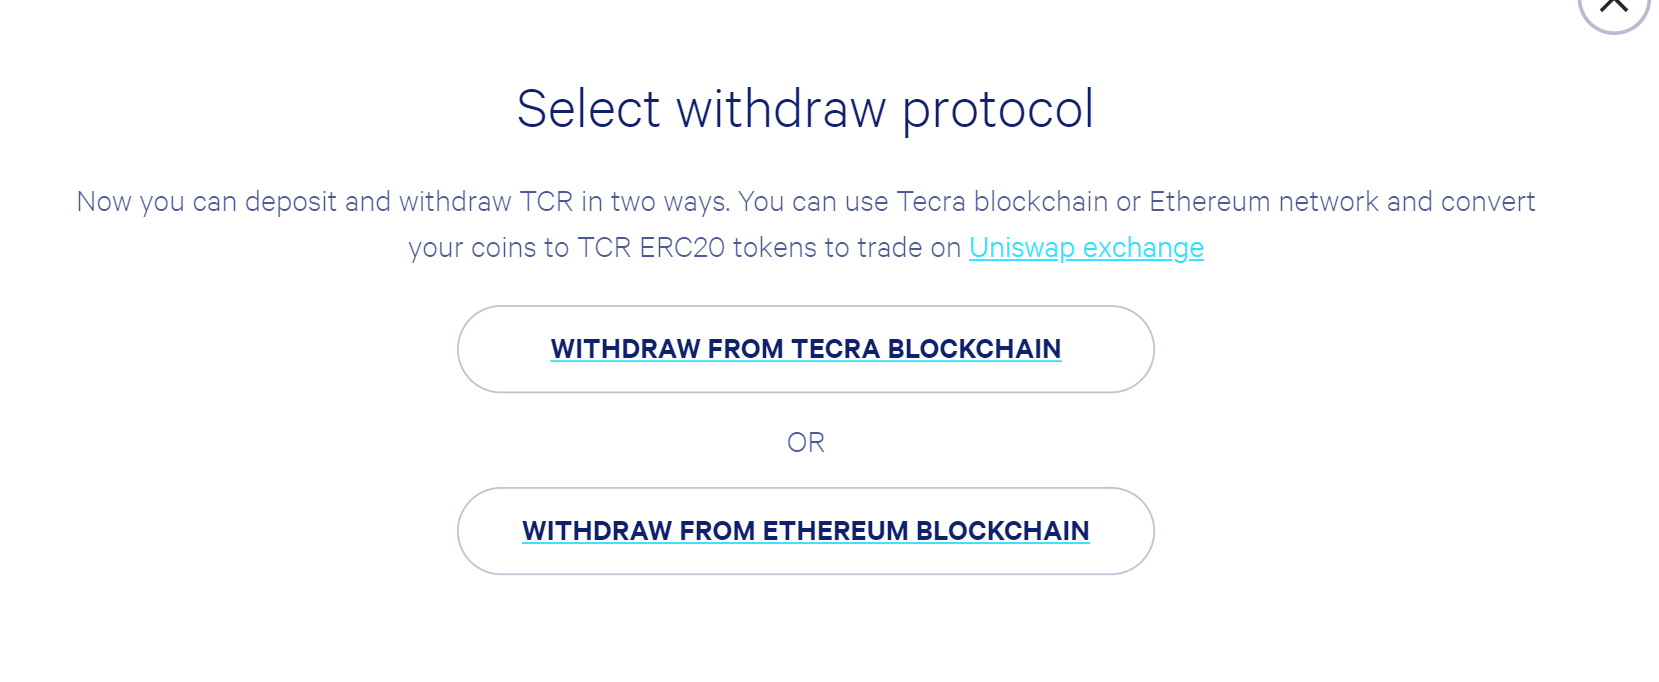
- Go to the Uniswap page and click the "Trade" button
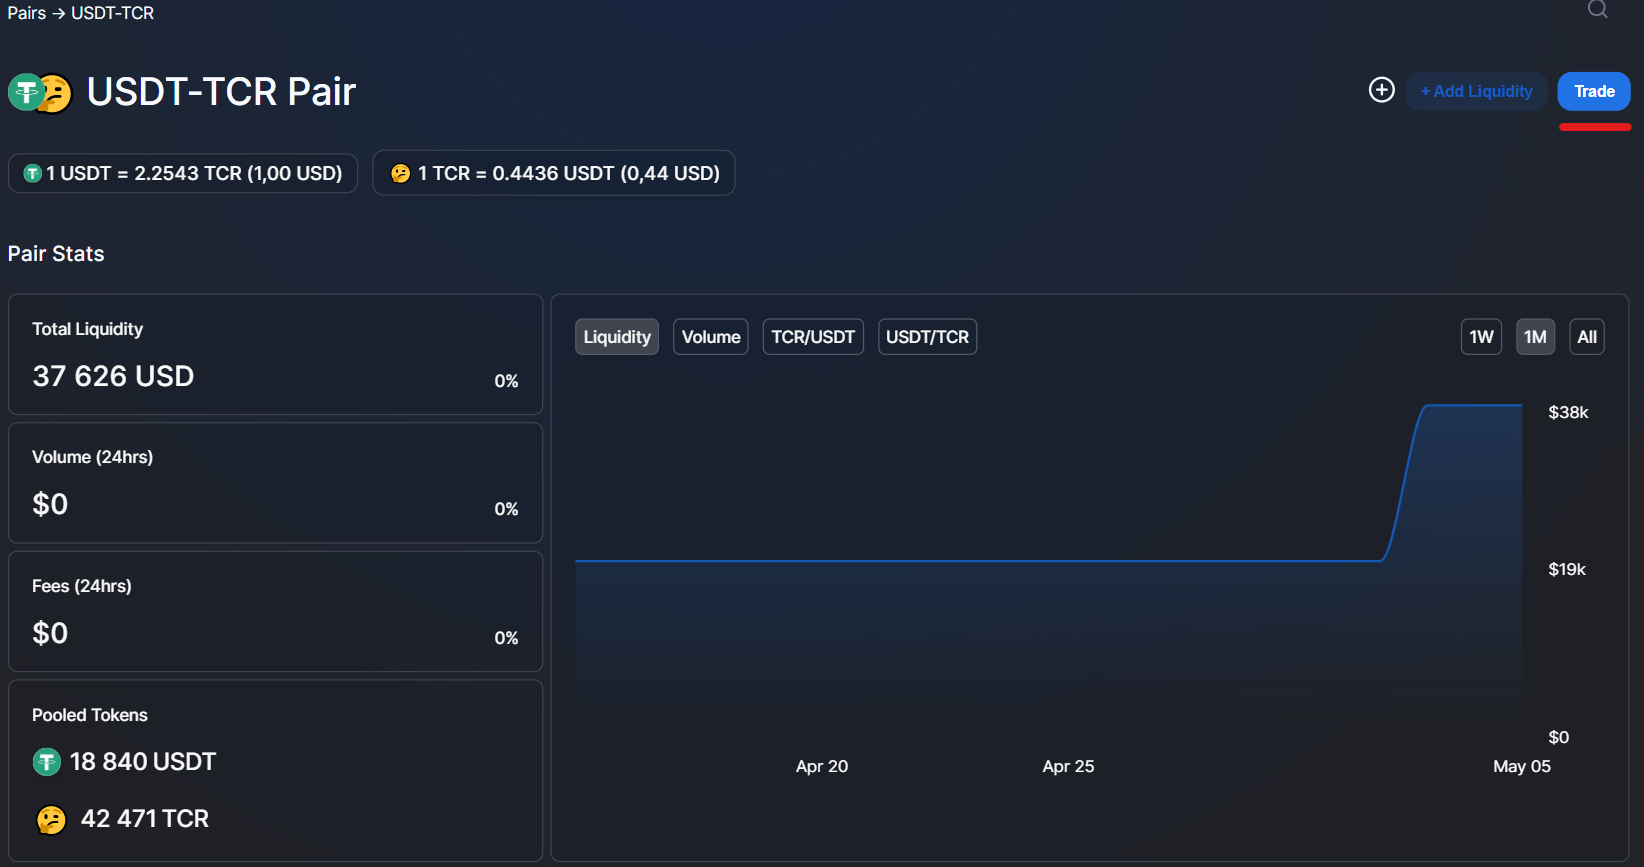
- Then click "Import"
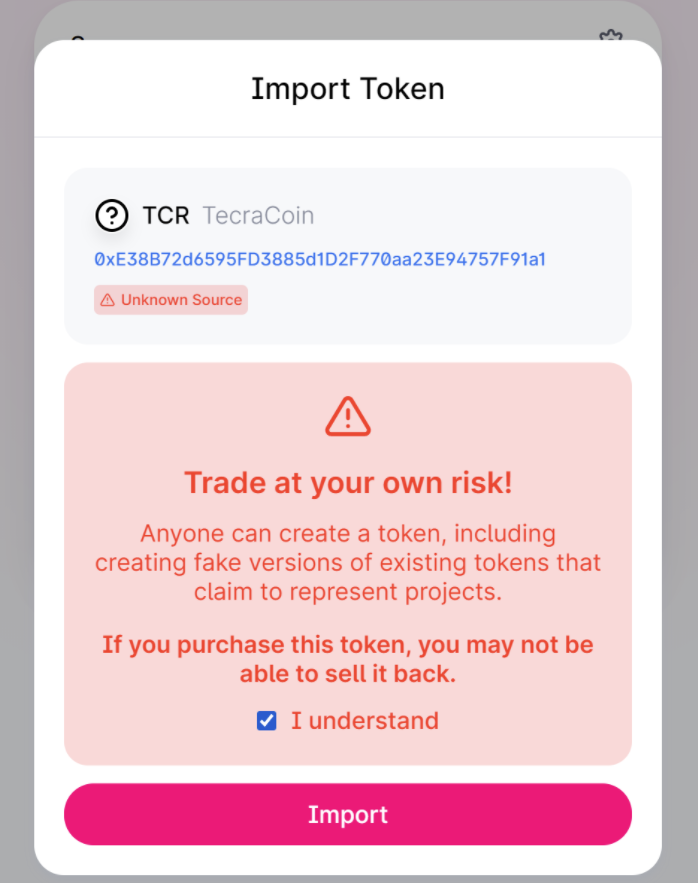
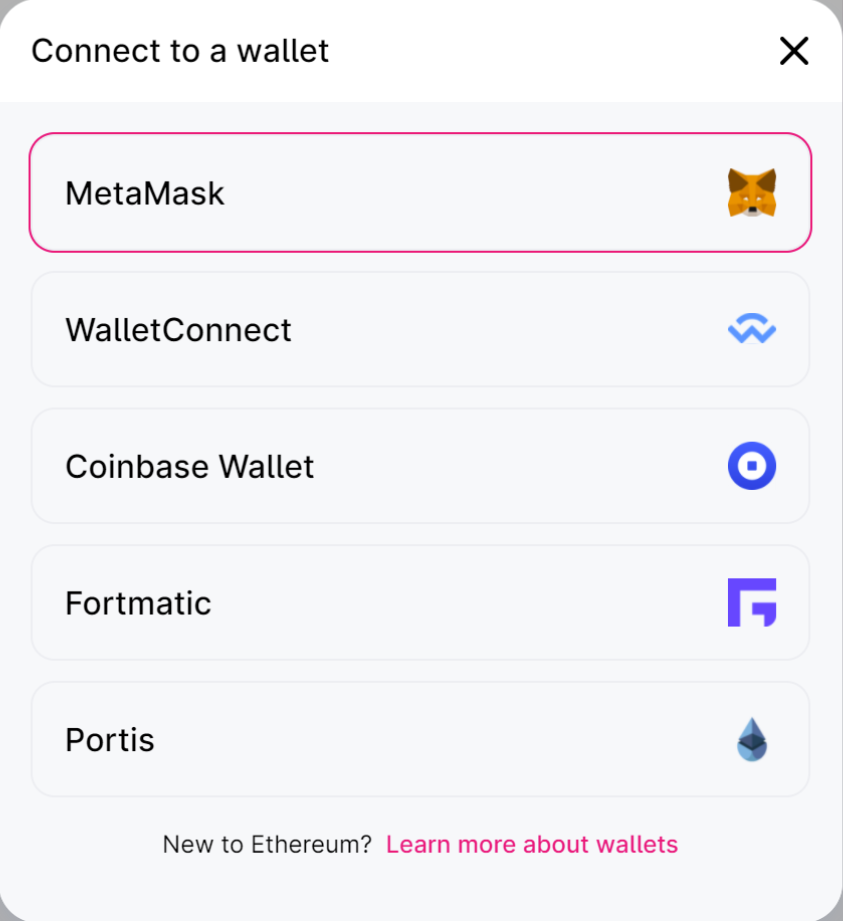
- Then click "Connect Wallet" and select "MetaMask"
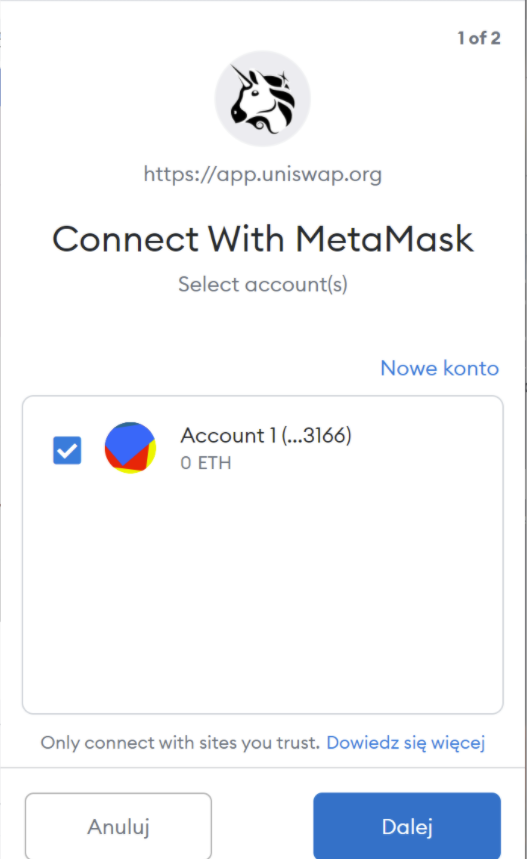
- Accept and click "next".
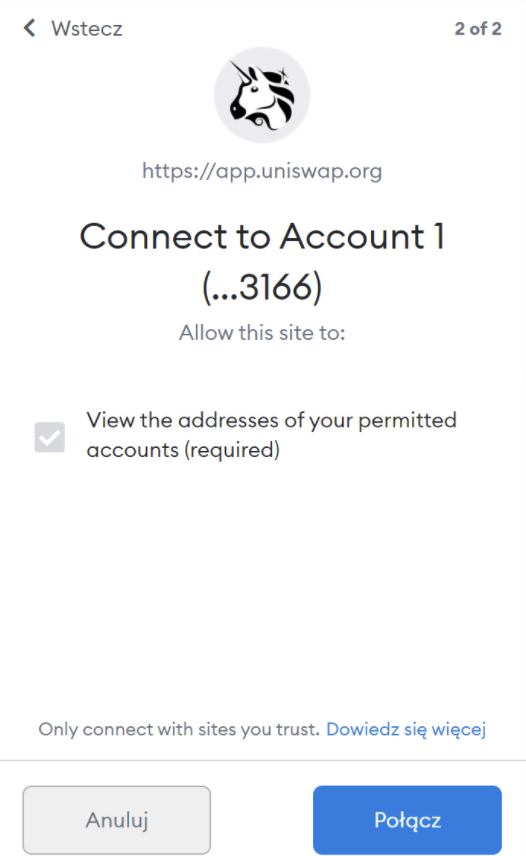
- Then click "connect"
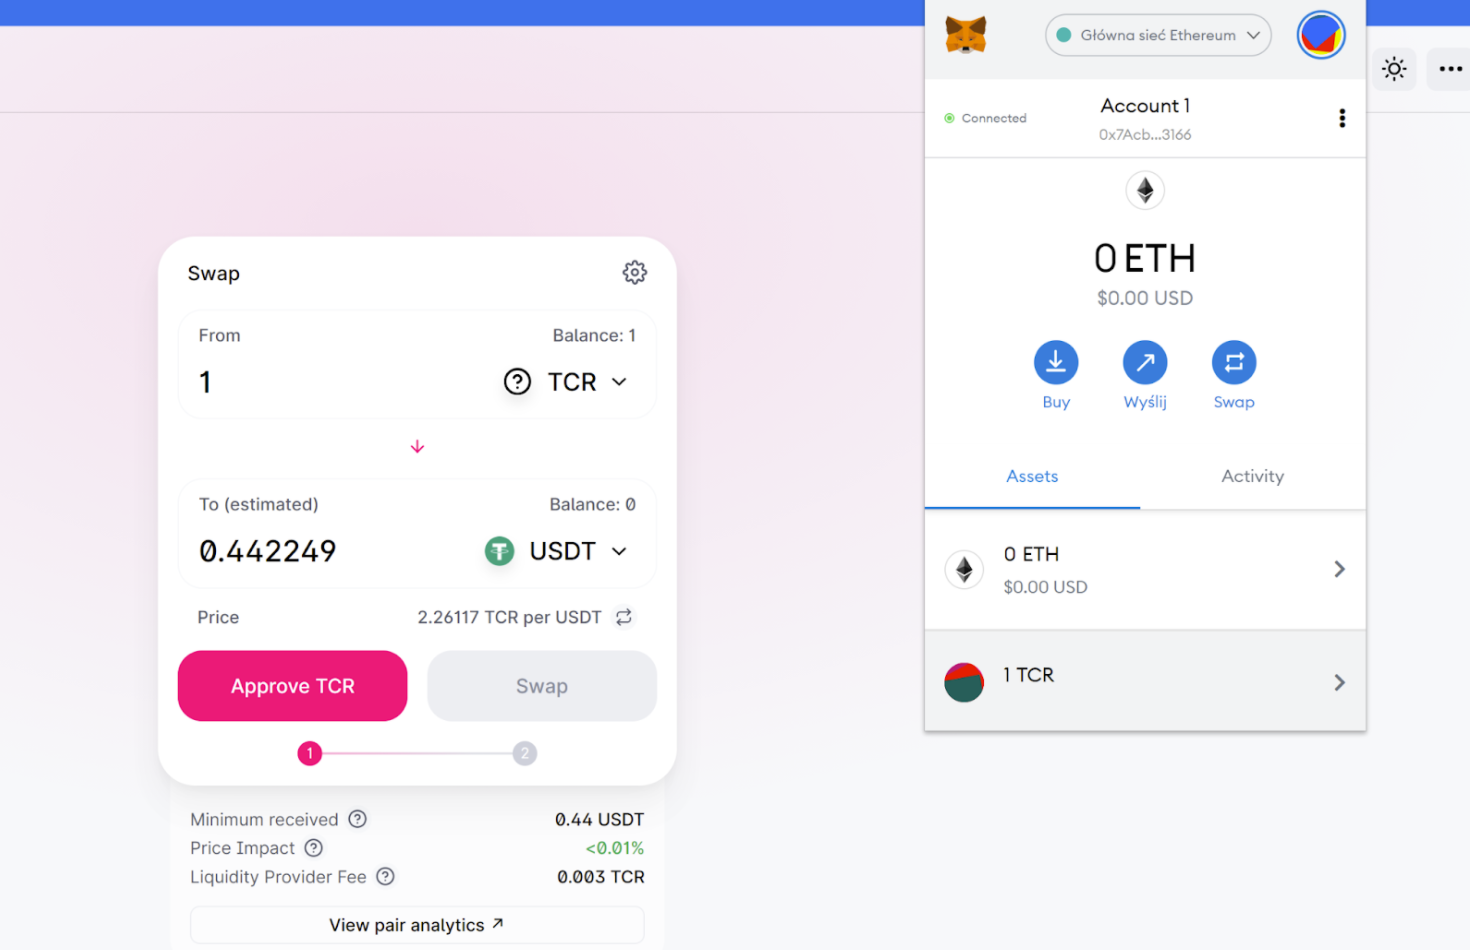
- Once the configuration is complete we can begin the "adventure" on the UniSwap platform!

 50 032 624


